The first question: where should the stop loss actually live
The clean answer to how to add stop loss on tradingview is that TradingView gives you more than one route, and the right route depends on what you are actually doing. A visual stop on the chart is useful for planning. A stop defined inside a Pine strategy is useful for testing. A stop that lives in the broker or execution layer is what actually matters once money is on the line.
Most confusion happens when traders mix those layers together. They think because the line is visible on the chart, the exit order must also be armed live. That is not always true.
- use a chart tool when you want quick planning and visual structure
- use Pine strategy logic when you want to test exit behavior
- use the broker or execution layer when you need the real live order
The practical TradingView workflow most traders need
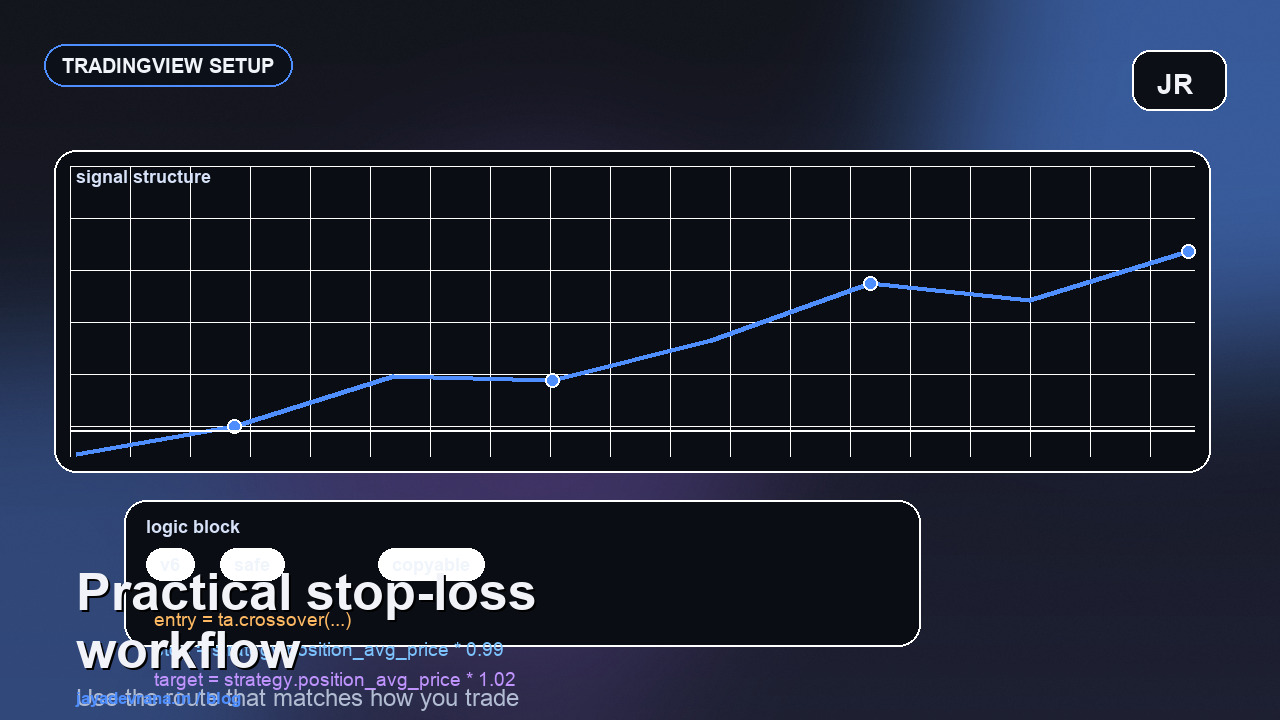
For discretionary traders, the easiest route is often the position tool or the order panel, depending on the broker connection. For strategy builders, the right route is usually strategy.exit() inside Pine Script so the chart and the tester are talking about the same exit logic.
For traders running alerts into a bridge or broker, TradingView should still know the stop concept, but the execution system also needs to know it. Otherwise the chart and the live order book drift apart.
//@version=6
strategy("Bracket exit template", overlay = true, initial_capital = 100000)

fast = ta.ema(close, 20)
slow = ta.ema(close, 50)
longSignal = ta.crossover(fast, slow)

if longSignal
    strategy.entry("L", strategy.long)

if strategy.position_size > 0
    stopPrice  = strategy.position_avg_price * 0.99
    limitPrice = strategy.position_avg_price * 1.02
strategy.exit("L exit", from_entry = "L", stop = stopPrice, limit = limitPrice)What usually goes wrong
The main mistake is believing a visual line equals a live risk control. The second is forgetting that a stop in backtest logic may still need a different implementation in the real broker workflow. The third is adding the stop without deciding whether the setup needs a fixed level, ATR logic, or structure-based invalidation.
- using a stop level you cannot explain after the trade
- testing one exit model but routing another live
- ignoring the broker-side restrictions on how stop orders behave
- adding the stop late instead of designing it with the setup
How I decide the cleanest stop-loss route
If the trader is still refining the idea, I start with visual or strategy logic first. If the trader already knows the execution stack, I define the broker-aware version early. The route depends less on the indicator and more on the maturity of the workflow.
If you are not sure whether the stop should live in Pine, in the broker panel, or in the automation layer, send the setup and broker on WhatsApp. That is usually enough to pick the right architecture quickly.
WhatsApp for a 3-minute quoteWhat to read next
If this topic is part of a bigger TradingView or Pine Script workflow for you, these are the most useful follow-up guides on the site.
Send the chart idea, broker, market, and goal on WhatsApp. I can usually tell you quickly whether it needs a custom indicator, a strategy audit, an alert fix, or a broker-ready automation layer.
Related services
Frequently asked questions
Does adding a stop line on TradingView mean my broker has the order?
Not necessarily. A visible line and a live exit order are not always the same thing.
Should I use Pine Script for stop loss if I trade manually?
Only if it helps you test or standardize the method. Manual traders can still use chart tools or broker-side stops if that fits the workflow better.
What is the safest route for live trading?
The safest route is the one where the live execution layer clearly owns the stop order and you know exactly how it behaves.
Can the same stop logic be used for testing and live execution?
Sometimes yes, but you should still verify that the broker or bridge layer interprets the stop in a compatible way.
Primary sources and references
I take on Pine Script indicators, TradingView automation layers, strategy audits, and broker-aware execution workflows when the goal is clear and the live behavior actually matters.